Buttermilk-Brined Thanksgiving Turkey Made Easy
About this Recipe
By: Rachel
Thanksgiving is all about gathering around the table and enjoying a meal everyone will remember. The star of the show is, of course, the Thanksgiving turkey—golden-brown, juicy, and full of flavor. This is the best buttermilk-brined Thanksgiving turkey recipe you’ll ever try. I’ll guide you through brining, roasting, and making rich, savory gravy.
The Best Buttermilk-Brined Thanksgiving Turkey Recipe
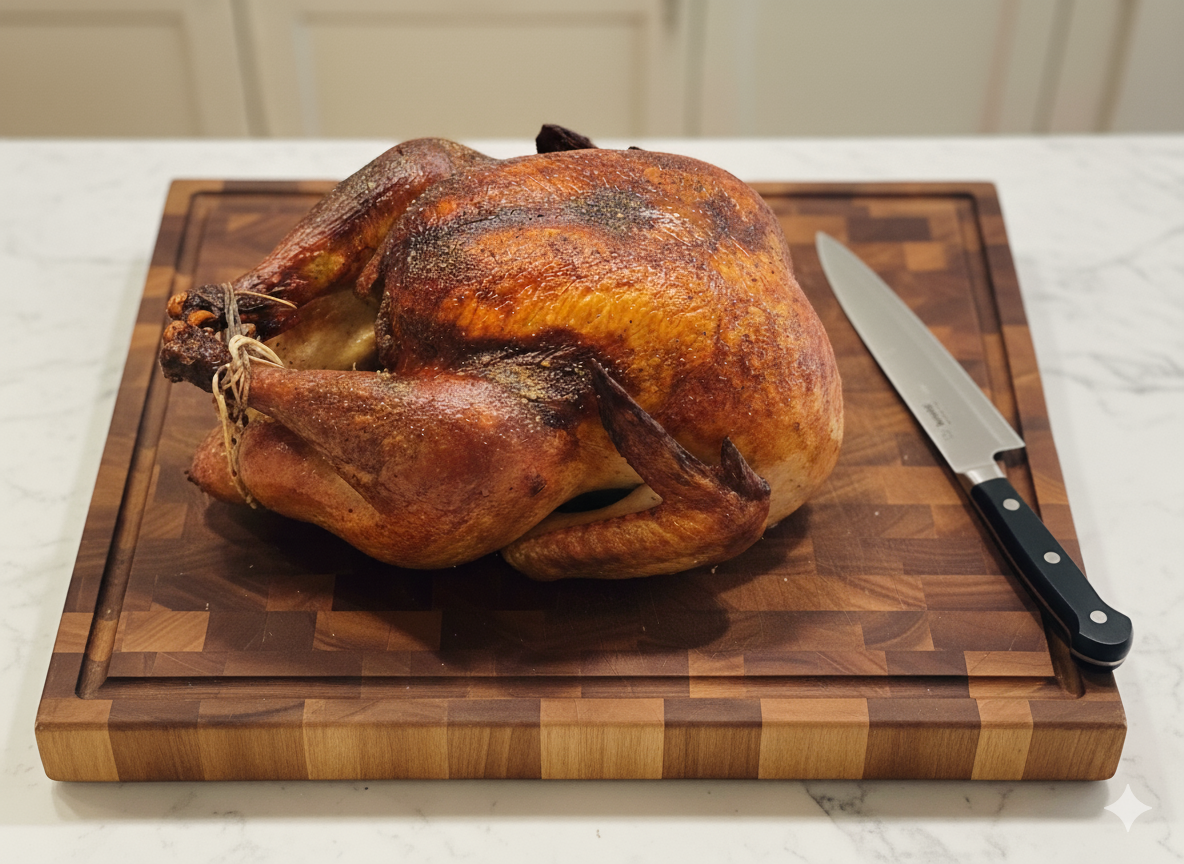
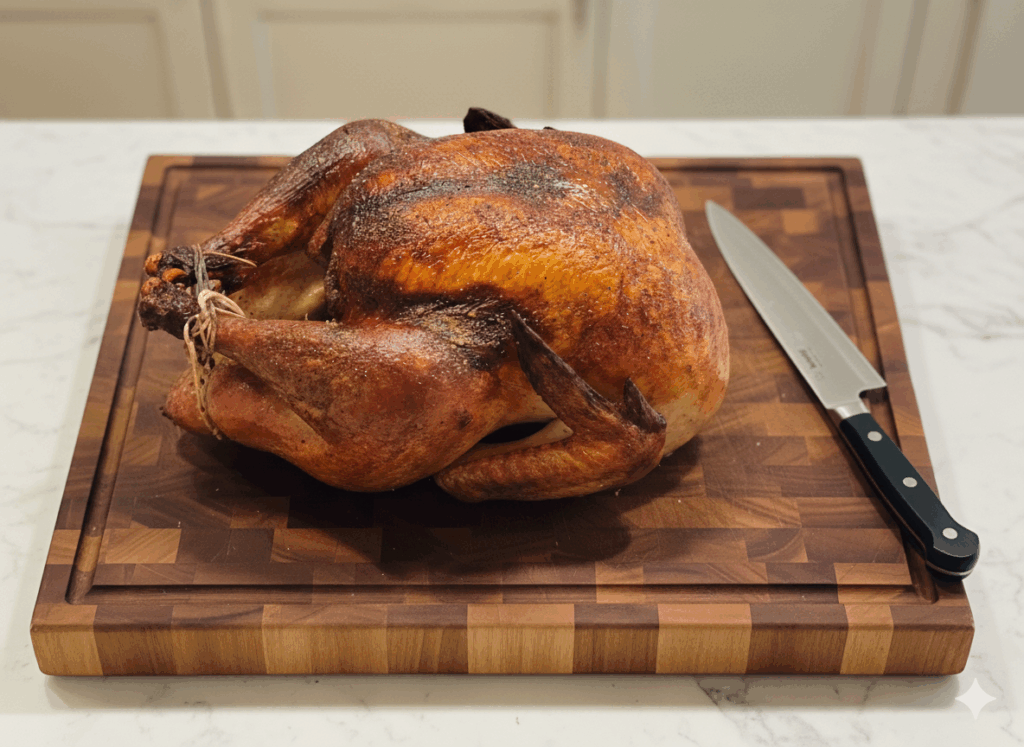
Thanksgiving is my favorite day of the year. Every fall, I start counting down the days until I can roast the juiciest, most succulent turkey, its skin glistening with golden-brown perfection.
The moment it emerges from the oven, the kitchen fills with a mouthwatering aroma that makes mouths water and hearts race. I love the chorus of delighted “oohs” and “aahs” as everyone takes in the flawless, crispy skin and moist, tender meat. It is a moment of pure joy and anticipation.
How do I create such perfection? Don’t worry, I’ll walk you through this buttermilk-brined turkey recipe! However, first, let us delve into the obsessive-compulsion that is my Thanksgiving preparation.
Taking Organization to a New Level
I love Excel, and if I can create a spreadsheet for a task, I almost certainly will. I make spreadsheets when preparing for a trip—noting the activities for each day, the weather forecast, and the outfit(s) required. This helps ensure that I don’t forget anything. It helps in optimizing packing by ensuring that I get the most use out of each item. (Since I refuse to check my bags, no matter where I’m going or for how long, this is key).
I take the same obsessive approach to meal preparation.
The Thanksgiving spreadsheet has three tabs:
- Tab One tracks the menu and grocery list. (There is The First Shop, which takes place a week ahead of time. And The Second Shop, where I buy ingredients that need to be fresh two days before Thanksgiving.)
- Tab Two tracks the timeline of tasks leading up to Thanksgiving.
- Tab Three tracks the timeline of the day itself.
Thanksgiving preparation begins in September or October—as soon as I can reliably find turkey necks and thighs. I use these to make a slow-simmered stock, which I freeze until the big day. This helps to get a jump-start on the gravy. Instead of waiting for the turkey to finish roasting, I make gravy with my stock and whisk the drippings in at the end.
Otherwise, prep starts a week out. The key to pulling off a perfect, buttermilk-brined Thanksgiving turkey—and the entire meal—is staying organized and doing as much as possible ahead of time. Each day, different ingredients are measured, chopped, toasted, shredded, marinated, mixed, and stored.
Anything that can be done ahead of time, is done ahead of time. So I track tasks by day and then make sure that on Thanksgiving, there’s an hour-by-hour plan for what I’m doing. What is in the oven at which temperature, etc. It works for me! (For a copy my extremely normal and not at all weird Thanksgiving Excel sheet, send me an email).
Making the Juiciest, Most Succulent Buttermilk-Brined Turkey
But back to the bird. I’ve tried just about every way there is to prepare a Thanksgiving turkey: roasted, spatchcocked, slow-cooked, deep-fried, smoked, and more. And, trust me, the method that beats them all is… the buttermilk brine.
This approach doesn’t just create tender, flavorful meat. It also gives you incredibly rich pan drippings that make the best buttermilk-brined Thanksgiving turkey and homemade gravy imaginable.
The Key to Nailing the Best Buttermilk-Brined Thanksgiving Turkey
Buttermilk is acidulated. The lactic acid breaks down protein for the most tender meat, and the natural sugars promote beautiful browning on the skin. The buttermilk brine adds a wonderful flavor, along with whatever other spices or aromatics you add to your brine. The salt helps to draw moisture into the meat for maximum juiciness. Trust me—this will be the prettiest and the most delicious turkey you and your guests have ever eaten.
How to Make a Buttermilk Brine for Your Thanksgiving Turkey
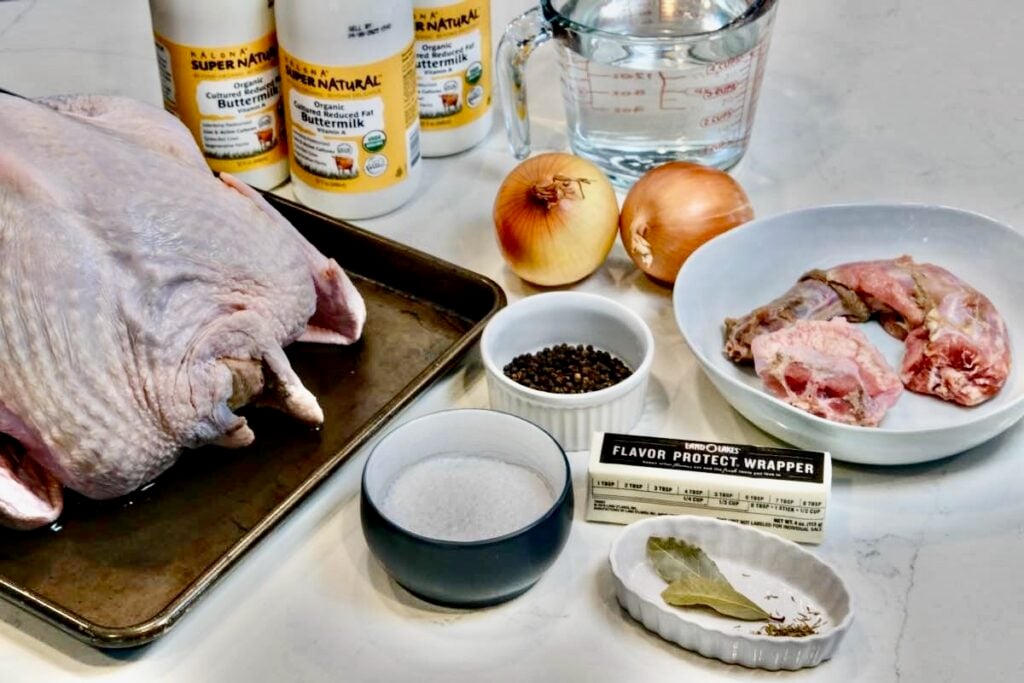
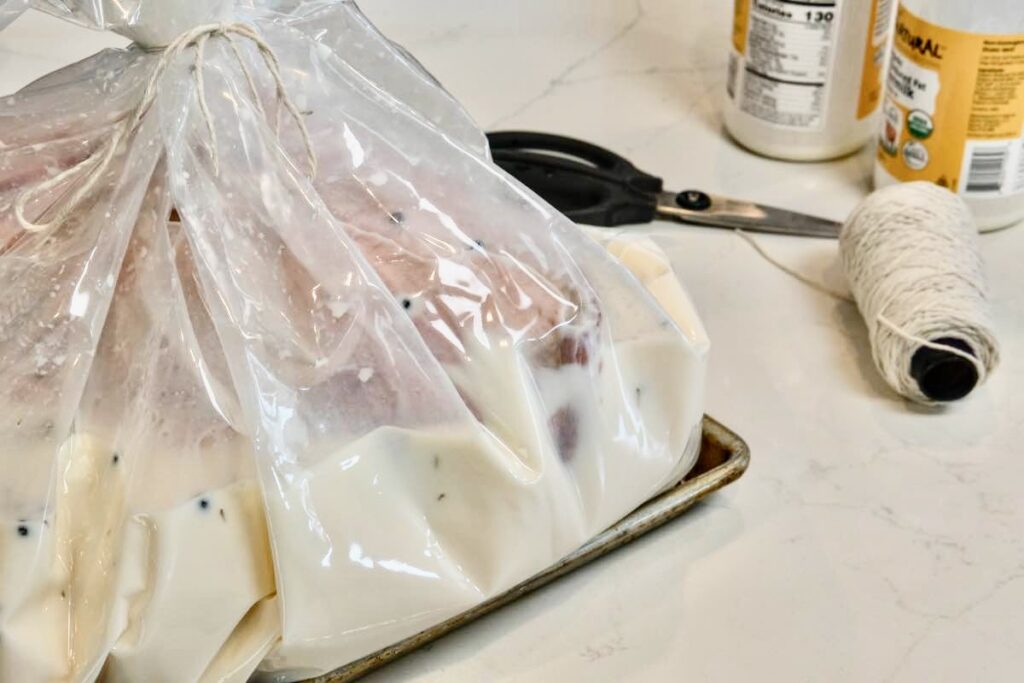
To make my buttermilk brine, I use a brining base of water and salt flavored with black peppercorns, fresh thyme, and bay leaves. This is mixed with a gallon of buttermilk. I like my brine to be pretty simple, but you can add garlic, herbs, spices, aromatics, or other flavorings to make the flavor your own.
Plan ahead! Brine your turkey in a brining bag for a minimum of 48 hours and up to 72 hours. Don’t skimp on the brining time—it takes time to thoroughly brine the bird for the best possible results.
Don’t Forget the Gravy
Turkey gravy is one of my favorite things to eat, and this Thanksgiving gravy recipe is simply the best. I use a traditional roux to thicken my gravy, rather than cornstarch, and I think the flavor is far superior. The key is to use the best stock you can find—ideally, homemade—and to use plenty of turkey drippings.
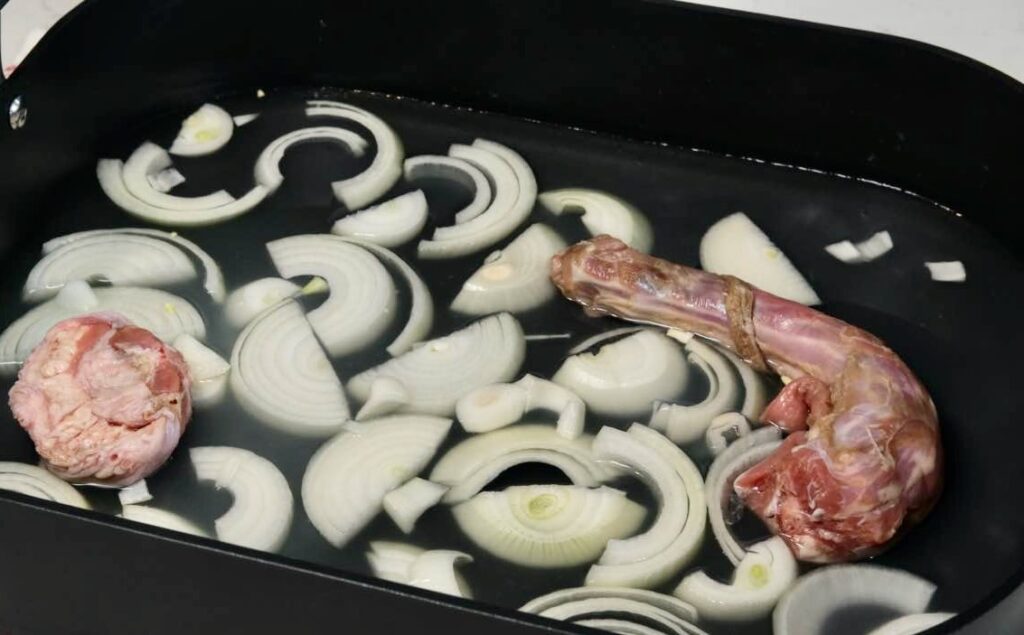
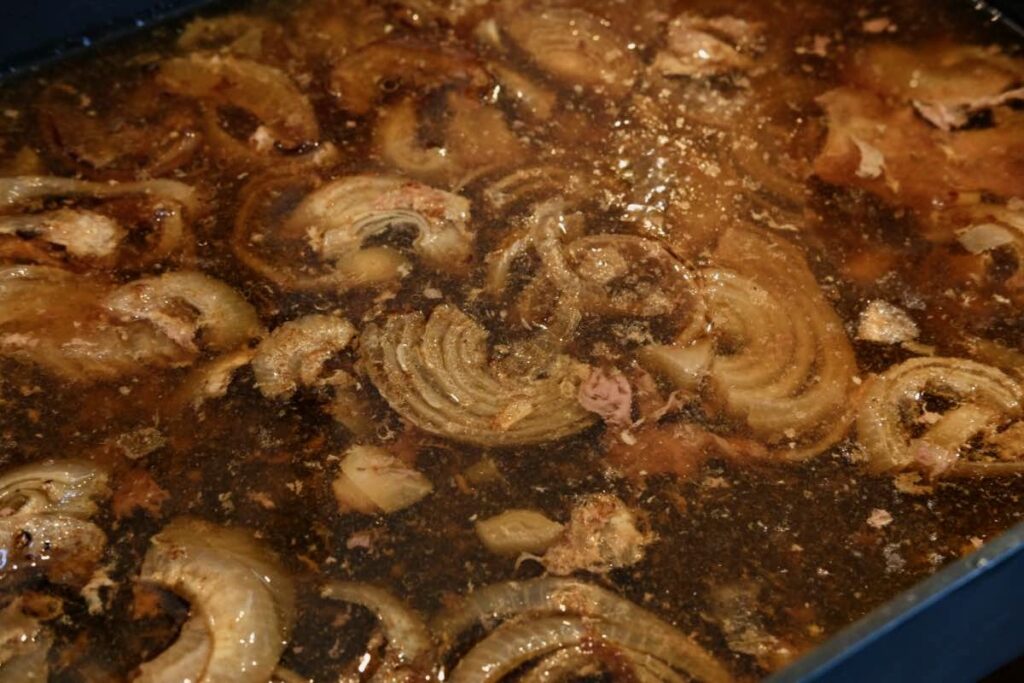
In my recipe, the roasting pan is filled with onions, which slow-roast in white wine, butter, and turkey drippings along with the turkey neck and tail—YUM. This Thanksgiving gravy already has a ton of flavor, but if you need to amp it up just a little more, you can whisk in some Better than Bouillon Turkey Base.
Those onions might be the best part of the Thanksgiving meal. While most of them get whisked into the gravy, I always set aside a little bit—a treat for me and for anyone helping in the kitchen on Thanksgiving day.
Serving Ideas for the Ultimate Buttermilk-Brined Thanksgiving Turkey and Gravy
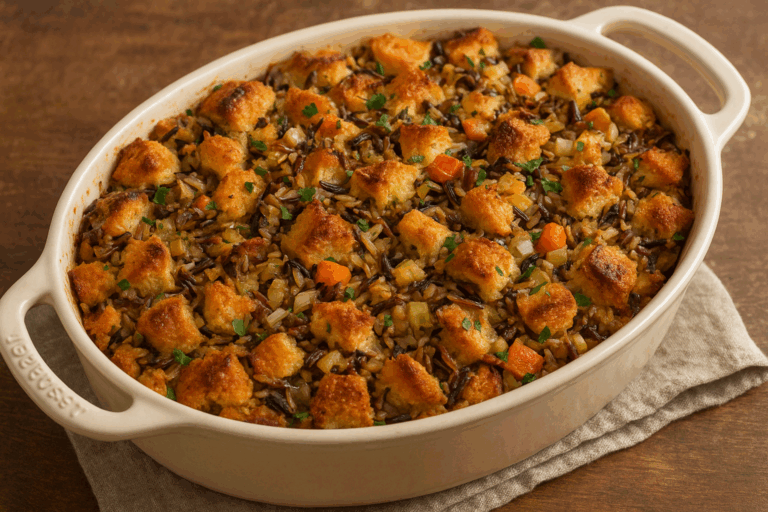
Be sure to serve your Thanksgiving turkey and gravy with plenty of hot mashed potatoes and my challah and wild rice recipe. Since your guests will be hungry while they wait for that mouthwatering turkey to finish roasting, you may want to have a holiday grazing board ready to go.
What About Leftover Turkey?
Finally, there’s no better way to use up leftover turkey than in my Turkey Salad with Dried Cranberries or my deeply comforting Chicken Pie (just sub turkey for the chicken!)
Beverage Pairing
By: Olivia
Thanksgiving is the perfect time to have fun with beverage pairings! The turkey and gravy, and all the great sides around the table, mean nearly endless possibilities. But the key is choosing wines with high acidity to cut through all those rich flavors. Light red wines made from Pinot Noir, Gamay, Trousseau, or Zweigelt are always crowd pleasers, while crisp white wines made from Sauvignon Blanc, Riesling, or Grüner Veltliner shine beautifully too. Thanksgiving dishes also pair well with ciders, especially those from the Basque Country, Normandy, or Brittany. And of course, the meal is a perfect excuse to pop something sparkling, whether it’s Champagne, Prosecco, Cava, or your favorite bubbly wine.
Buttermilk-Brined Thanksgiving Turkey and Gravy
Equipment
- Kitchen scale or measuring cups and spoons
- Measuring cups and spoons or kitchen scale
Ingredients
- 1 whole turkey (I buy a 12-14 pound bird, which is 5 ½ to 6 ½ kilos)
- 1 quart (1 liter) water
- 7 tablespoons (105g) Kosher salt
- 2 tablespoons whole black peppercorns
- Fresh thyme, bay leaves, or other herbs
- 1 gallon buttermilk
- 3-4 large yellow onions (peeled and quartered)
- 1 bottle dry white wine
- 2 sticks (240g) unsalted butter (softened)
- 1 cup (120g) all-purpose flour
- 1 quart (1 liter) turkey or chicken stock (ideally homemade)
Step by Step Instructions
For the turkey:
Step 1
- Before you begin, make sure you have a brining bag and adequate space in your refrigerator for your turkey! It is a good practice to brine your turkey on the lowest shelf of your fridge. In the event that you have a spill, you do not want raw poultry juices dripping down and contaminating any other food you are storing.
Step 2
- Prepare your turkey. In the cavity, you should find a turkey neck and tail, and a bag containing giblets (any combination of the heart, kidneys, liver, and gizzard). Refrigerate the giblets for a few days while the turkey brines, or discard if you don’t plan to use them.
Step 3
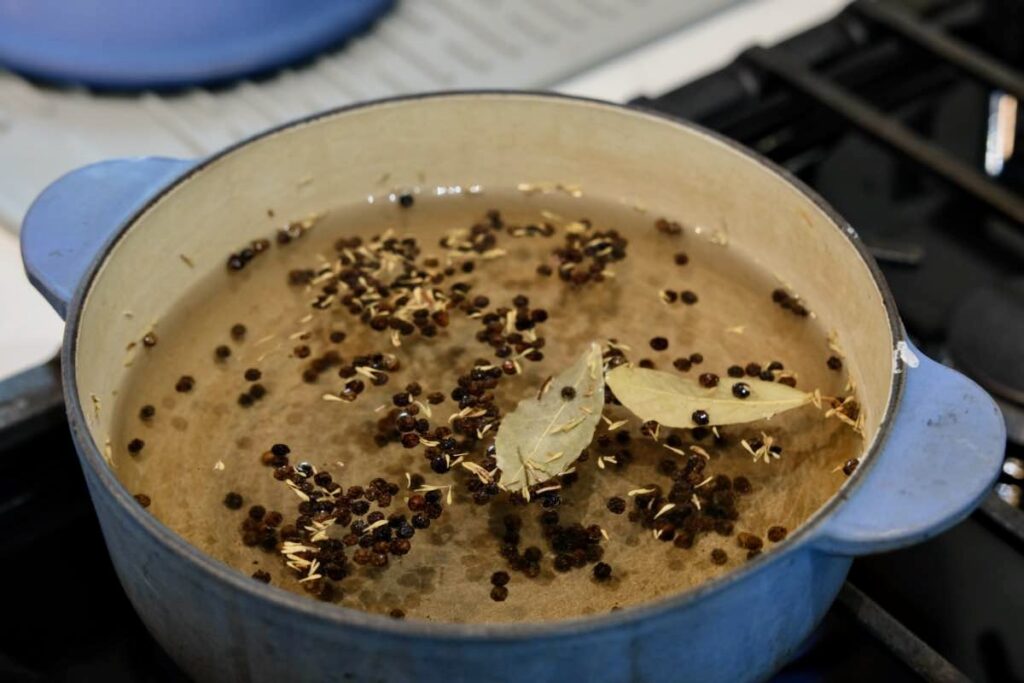
- To a saucepan, add 1 quart (1 liter) water along with the Kosher salt and black peppercorns. Bring to a boil and stir with a wooden spoon, allowing the salt to dissolve completely. Add the herbs, and set aside to cool (or refrigerate). This is your brining base.
Step 4
- I like to do this next part in the sink. Place your turkey in your brining bag and add the gallon of buttermilk. Now add your brining base, and carefully swish the liquids around so that they are well-combined. Press as much air out of the bag as you can and seal, making very sure that the bag is sealed. Place the turkey on the bottom shelf of your refrigerator. Brine your turkey for at least 48 hours and up to 72 hours. Once a day, carefully rotate your turkey so that it brines evenly.
Step 5
- When you are ready to make your turkey, transfer the brining bag to the sink. Carefully remove the turkey and discard the brine. Allow it to drain in the sink while you prepare the roasting pan.
Step 6
- Move your oven rack to the lower third of your oven. You may also need to remove your top oven rack, or move it to the highest part of the oven, to accommodate the turkey. Preheat your oven to 400°F (200°C).
- Add the turkey neck, tail, and the quartered onions to the bottom of your roasting pan. Pour 1 bottle of dry white wine over all, and add 2 cups (475mL) of water. Nest the roasting rack in the roasting pan, jostling onions out of the way as needed.
Step 7
- Gently pat the turkey dry with paper towels and place it breast-side up in the roasting rack.
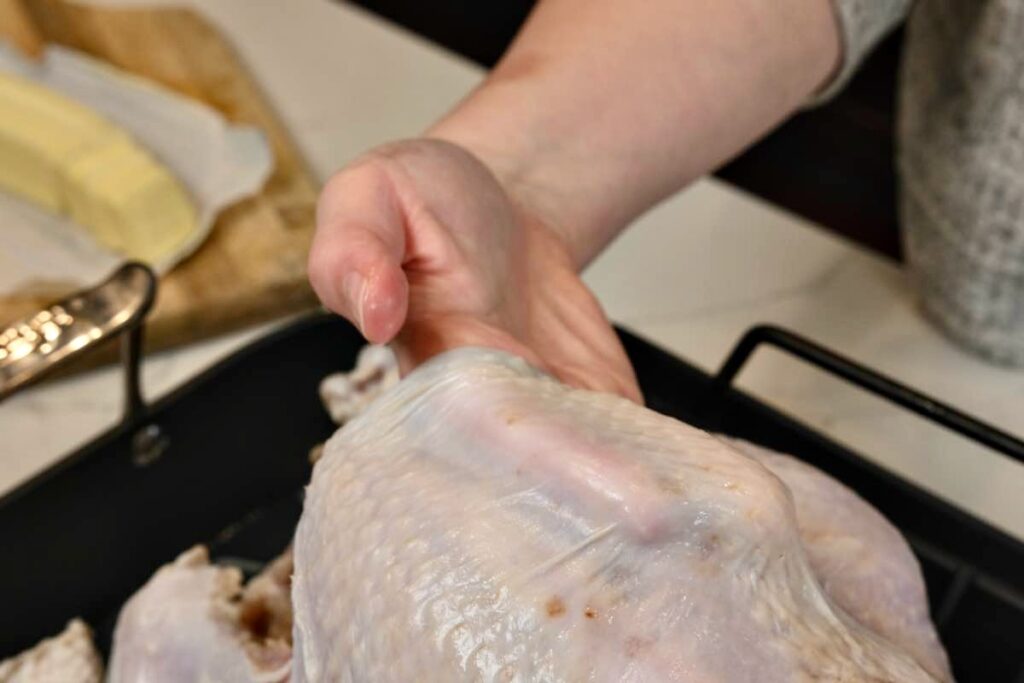
- Carefully separate the skin from the meat and stuff one stick of butter under the skin, distributing it as evenly as you can.
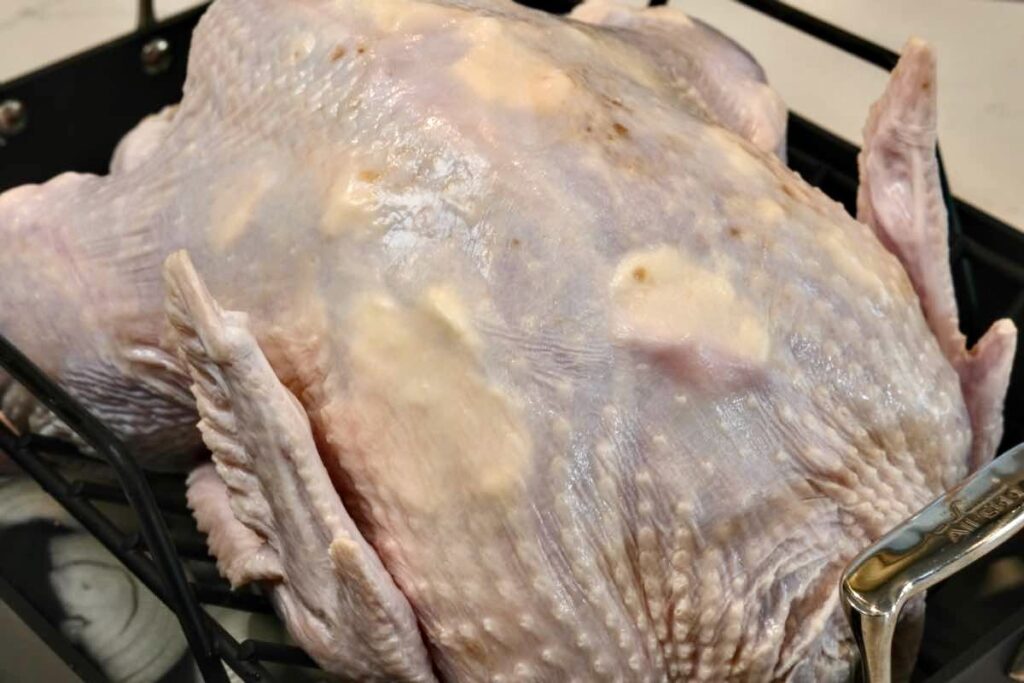
- Grind fresh black pepper over the bird (because there was salt in the brine, you don’t need to salt the skin, but you can if you want to).
- If you have a leave-in thermometer (recommended), insert it in the deepest part of the thigh.
Step 8
- Roast the turkey for 30 minutes, then reduce the oven temperature to 325°F (160°C). Continue roasting the turkey for around 10-12 minutes per pound. If the turkey is browning too quickly or becomes too dark, loosely tent it with heavy-duty aluminum foil.
- You may start your gravy (next step) while the turkey roasts.
- Remove the turkey when the internal temperature reaches 160°F (71°C) and allow it to rest for 30 minutes before carving.
For the gravy:
Step 1
- Heat your stock in a medium saucepan and keep at a low simmer.
Step 2
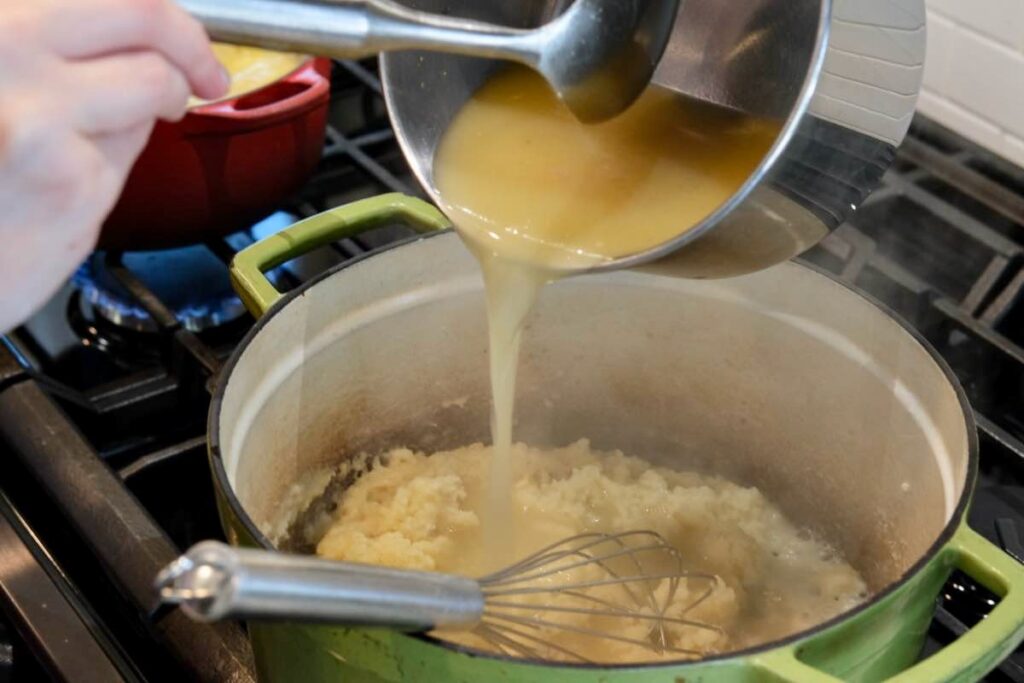
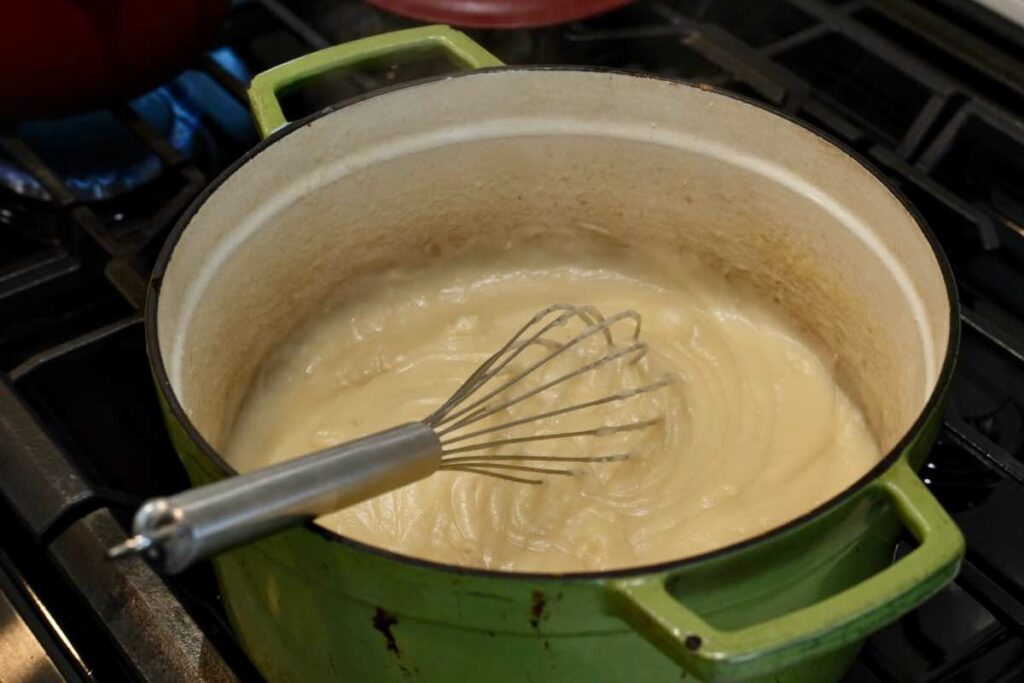
- To make your gravy, begin with a roux. Add the remaining stick of butter to a large, heavy saucepan over medium heat. Once it is melted, whisk in the flour and allow it to cook for 2-3 minutes, continuing to whisk. Slowly pour in the heated stock, continuing to whisk, until you have a thickened mixture. Turn the burner down to its lowest setting.
- Step 3
- While the turkey rests, add the turkey drippings to the gravy. I love the quartered onions in the gravy, but for a smoother mixture, you can strain out the onions and serve them as a side dish.
- Step 4
- If you would like your gravy to be thicker, whisk 1 tablespoon cornstarch into 1 tablespoon cold water or milk until smooth and whisk it into the bubbling gravy. Repeat as necessary until you are satisfied with the texture.
This was THE BEST thanksgiving turkey ever!!!